Mosaic Wall Mural Installation Tips for Designers and Contractors
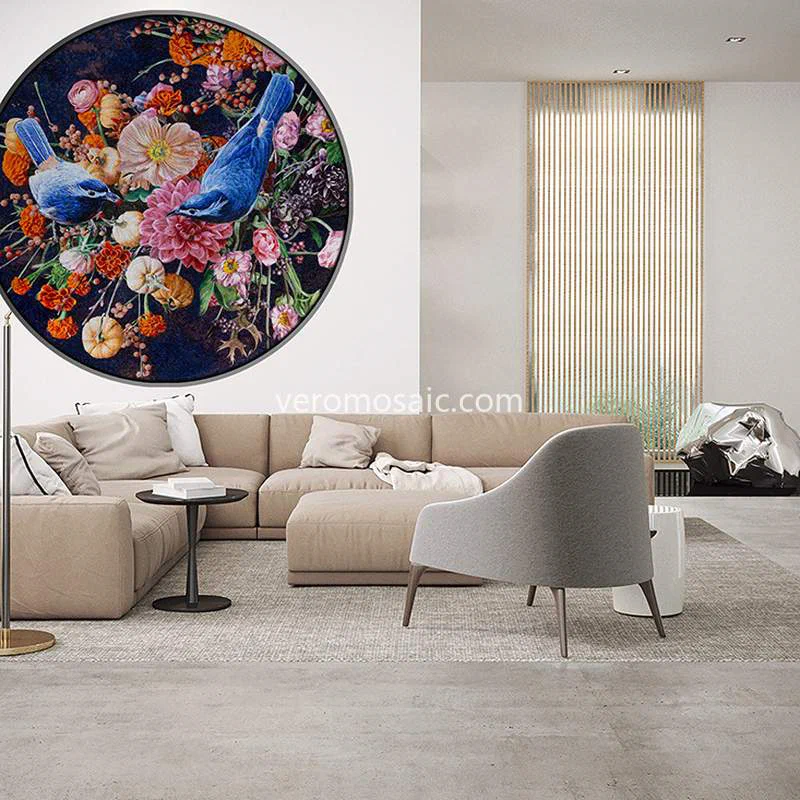
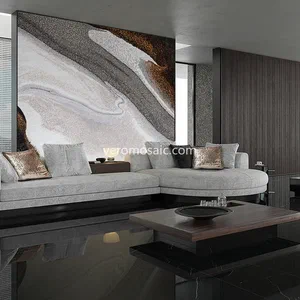
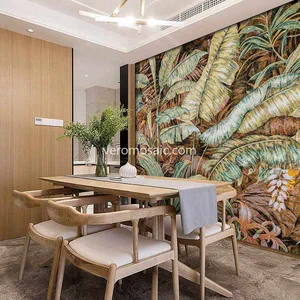
A mosaic wall mural adds colour, texture and visual character to commercial and architectural interiors. For designers, contractors and international buyers, successful installation depends on accurate surface preparation, careful layout planning, suitable adhesives and precise grouting. Following a consistent installation process helps protect the finished design, reduce material waste and deliver a durable result across residential, hospitality and commercial projects.
Key Features of Mosaic Wall Mural Installation

- Design flexibility: Mosaic patterns, custom artwork- Design flexibility: Mosaic patterns, custom artwork, geometric arrangements and decorative imagery can be adapted to different wall dimensions and interior concepts.
- Material compatibility: Glass, ceramic, porcelain and natural stone mosaics each offer distinct visual effects and installation requirements.
- Precise alignment: Reference lines, dry layouts and consistent joint spacing help maintain pattern continuity, particularly across large murals.
- Professional finishing: Suitable grout, clean edges and properly sealed joints, where required, contribute to a neat and consistent appearance.
- Project adaptability: Installation methods can be adjusted to suit feature walls, reception areas, bathrooms and other specified environments.
For projects involving custom designs, contractors should confirm the mural dimensions, tile orientation, colour sequence and panel arrangement before installation begins. Reviewing samples and approved drawings helps ensure that the delivered materials match the design intent.
Installation Guidelines for Designers and Contractors
Begin by checking that the wall is structurally sound, clean, dry and sufficiently flat for the selected mosaic system. Remove dust, grease, loose coatings and other contaminants that could affect adhesion. Repair uneven areas and apply a compatible waterproofing system in wet zones where the project specification requires it. The substrate must be suitable for the intended installation environment before any tiles are fixed.
Next, establish the mural’s centreline and reference points, then arrange the mosaic sheets or individual tesserae according to the approved design. A dry layout helps identify awkward cuts, uneven borders and pattern mismatches before adhesive application. Select an adhesive compatible with the mosaic material, substrate and environmental conditions. Spread it with an appropriately sized notched trowel, following the manufacturer’s instructions, and avoid covering more wall area than can be tiled within the adhesive’s open time.
Install each sheet or section carefully, maintaining consistent alignment and joint spacing. Use gentle, even pressure to achieve a uniform surface without forcing excess adhesive into the joints. Check the pattern and level frequently, especially at panel boundaries, corners and transitions. Allow the adhesive to cure for the specified period before grouting. Choose grout suitable for the joint width, tile material and exposure conditions, and test cleaning methods on a sample where delicate, porous or textured surfaces are involved. Complete the work with edge detailing, final cleaning and an inspection for loose pieces, visible residue and alignment defects.
Main Specifications and Typical Applications
Mosaic wall mural installation requirements vary by material, project design and site conditions. Buyers should confirm the following details with the manufacturer or installation team before ordering.
- Material: Glass- Design flexibility: Mosaic patterns, custom artwork, geometric arrangements and decorative imagery can be adapted to different wall dimensions and interior concepts.
- Material compatibility: Glass, ceramic, porcelain and natural stone mosaics each offer distinct visual effects and installation requirements.
- Precise alignment: Reference lines, dry layouts and consistent joint spacing help maintain pattern continuity, particularly across large murals.
- Professional finishing: Suitable grout, clean edges and properly sealed joints, where required, contribute to a neat and consistent appearance.
- Project adaptability: Installation methods can be adjusted to suit feature walls, reception areas, bathrooms and other specified environments.
For projects involving custom designs, contractors should confirm the mural dimensions, tile orientation, colour sequence and panel arrangement before installation begins. Reviewing samples and approved drawings helps ensure that the delivered materials match the design intent.
Installation Guidelines for Designers and Contractors
Begin by checking that the wall is structurally sound, clean, dry and sufficiently flat for the selected mosaic system. Remove dust, grease, loose coatings and other contaminants that could affect adhesion. Repair uneven areas and apply a compatible waterproofing system in wet zones where the project specification requires it. The substrate must be suitable for the intended installation environment before any tiles are fixed.
Next, establish the mural’s centreline and reference points, then arrange the mosaic sheets or individual tesserae according to the approved design. A dry layout helps identify awkward cuts, uneven borders and pattern mismatches before adhesive application. Select an adhesive compatible with the mosaic material, substrate and environmental conditions. Spread it with an appropriately sized notched trowel, following the manufacturer’s instructions, and avoid covering more wall area than can be tiled within the adhesive’s open time.
Install each sheet or section carefully, maintaining consistent alignment and joint spacing. Use gentle, even pressure to achieve a uniform surface without forcing excess adhesive into the joints. Check the pattern and level frequently, especially at panel boundaries, corners and transitions. Allow the adhesive to cure for the specified period before grouting. Choose grout suitable for the joint width, tile material and exposure conditions, and test cleaning methods on a sample where delicate, porous or textured surfaces are involved. Complete the work with edge detailing, final cleaning and an inspection for loose pieces, visible residue and alignment defects.
Main Specifications and Typical Applications
Mosaic wall mural installation requirements vary by material, project design and site conditions. Buyers should confirm the following details with the manufacturer or installation team before ordering.
- Material: Glass, ceramic, porcelain or natural stone mosaic.
- Design: Standard patterns, custom graphics, decorative borders or bespoke mural artwork.
- Format: Individual tesserae, mesh-mounted sheets or pre-arranged panels, depending on the product.
- Installation surface: Approved cement-based substrates, prepared plaster or other compatible wall systems.
- Fixing materials: Adhesive, grout, primers and sealants selected for the specified materials and conditions.
- Project requirements: Wall dimensions, joint width, moisture exposure, cleaning needs and installation tolerances.
Typical applications include hotel lobbies, restaurant feature walls, retail interiors, office reception areas, residential accent walls, bathroom interiors and spa facilities. Swimming pool or continuously wet installations require products specifically rated for those conditions, together with an appropriate waterproofing and fixing system. For export projects, distributors and contractors should also confirm packaging, batch consistency, installation documentation and sample availability before placing bulk orders.
FAQ
Q: What should be checked before installing a mosaic wall mural?
A: Confirm substrate condition, wall dimensions, approved layout, mosaic material and adhesive compatibility. Check moisture protection requirements before starting work.
Q: Can mosaic wall murals be customised for commercial projects?
A: Yes, designs can often be tailored to project dimensions, colours, patterns and artwork requirements, subject to the supplier’s capabilities and production specifications.
Q: How can contractors achieve a consistent finish?
A: Use reference lines, test the layout before fixing, maintain even joint spacing and follow the recommended curing, grouting and cleaning procedures.